Using Stationery Backgrounds
Other Christmas backgrounds are here.
Quick way—on the fly Using the Make Stationery Wizard The best way—make new stationery Christmas background to save Christmas script to copy Using your new stationery Changes to stationery while writing your email
To save an image from this page
To save any picture, right click on it and choose Save Picture As or Save Image As. Agree to the suggested name by clicking OK.

The actual stationery is here.
Three ways to use background tiles in your stationery
In whatever way you plan to use your new background tile ...............
- Download the tile and save it.
- Drag it into your stationery folder.
Either
(XP and earlier) C:\Program Files\Common Files\Microsoft Shared\Stationery
or
(Vista) C:\User Account\AppData\Local\Microsoft\Windows Mail\Stationery eg. C:\Users\Your Name\AppData\Local\Microsoft\Windows Mail\Stationery
Quick Way—on the fly
This is very quick and easy, and the only disadvantage is that you will be obliged to type straight onto the background, without having a plain area for your text.
- Open Outlook Express or Windows Mail
- Click on Create Mail
- If your Mail Sending Format is set to Plain Text (recommended) click Format on the menu bar of the email and choose Rich Text (HTML).
- Click Format on the menu bar of the email.
- Click Background, and on the menu that then appears, click Picture.
- In the dialogue box that appears, click the Browse button and navigate to the background that you want to use.
- Click the name of the picture file you want to use and click Open (or just double click the name of the picture file).
- Click OK in the Background Picture dialogue box.
You'll now see that the background of your new email has been filled with your chosen picture.
Using the Make Stationery Wizard
If you haven't used this before or if you'd like a few tips, you might like to open a new tab and look at Make Stationery Wizard step by step.
This method gives you control over top and left margins and lets you set font and size of your text, and the stationery you make in this way will be saved for further use.
However, that still doesn't give you a way to make a plain background for text, and with a background as busy as this one, you'll certainly want that.
The best way—make new stationery
 You could simply add the background you've chosen to a piece of existing stationery.
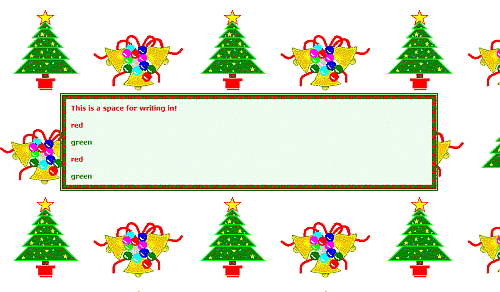
Here's a piece I made especially for Christmas emails.
It looks like this.
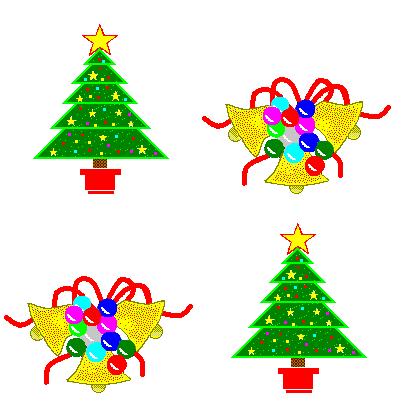
To make up this very small (about 10kb) and simple piece of Christmas stationery, you need the script below plus the picture on the left. To save this picture, right click on it and choose Save Image As or Save Picture As.
Copy everything just below on the white background, paste it into Notepad, and save it as christmas.htm.
Put the two files—belltrees01.gif and christmas.htm—into the same folder. This can be your main stationery folder, or a subfolder, perhaps called christmas. It's only important that the two files are in the same folder.
Directions for using your Christmas stationery are below the white area.
.
Christmas script to copy
<!DOCTYPE HTML PUBLIC "-//W3C//DTD HTML 4.01 Transitional//EN">
<html><head>
<meta http-equiv=content-type content="text/html; charset=windows-1252">
<title>Trees and Bells</title>

<style type="text/css">
body{margin-top:200px;}
td
{border:green 6px dashed;padding: 10px;
background:#eeffee; color:green;
font-family:verdana; font-size:90%; font-weight:bold;}
table
{margin:auto; background:red; color:green; border:green double 5px;}

.centre
{text-align:center;}

p
{background:"#eeffee" ; color:red;}

p.green
{background:"#eeffee" ; color:green;}

</style>

</head>

<body bgColor="#ffffff" background="belltrees01.gif">

<div class="centre">

<table width="800px">
  <tr>
    <td>
<p>This is a space for writing in!</p>
<p>red</p>
<p class="green">green</p>
<p>red</p>
<p class="green">green</p>
    </td>
</tr>
</table>

</div>

</body>
</html>
Using your new stationery
After having put your new stationery into your stationery folder—or into a sub-folder inside that directory—open Outlook Express or Windows Mail.
- Click the little down arrow beside Create Mail.
- On the menu that drops down, click Select Stationery.
- Navigate to the folder called christmas and double click it.
- You will see an htm file called christmas.htm.
- Click it and you'll see a preview.
- Click OK.
- The stationery will now be open, ready for you to write on. After filling in the To and Subject lines, highlight the words "This is a space for writing in!" and write over them.
- Write over subsequent text in the same way.
Changes to stationery while writing your email
Wile writing your message, you can, of course, change fonts, colours and sizes by using the toolbar of the email. For instance, you may want to have the first line read "Merry Christmas" in 36 point Times New Roman, and you may want it centred.
I have made a couple of write-over paragraphs alternately red and green, but you can change those to whatever colour you want, and centre them too, if you wish, or deletee them altogether.
If, however, you want the writing area to be narrower or wider, you'll need to click the Source tab at the bottom of the email and find 800px. Change the 800 to a width you prefer. Then click the Edit tab and you'll see that the width of the writing area has changed.
Have fun!
Questions or comments? I’d love to hear from you. My email address is here.
Return to top
Drop-Down Menu from Brothercake
Everything below this is a javascript menu. If you are using a reader,
please use the links here.